
Overview
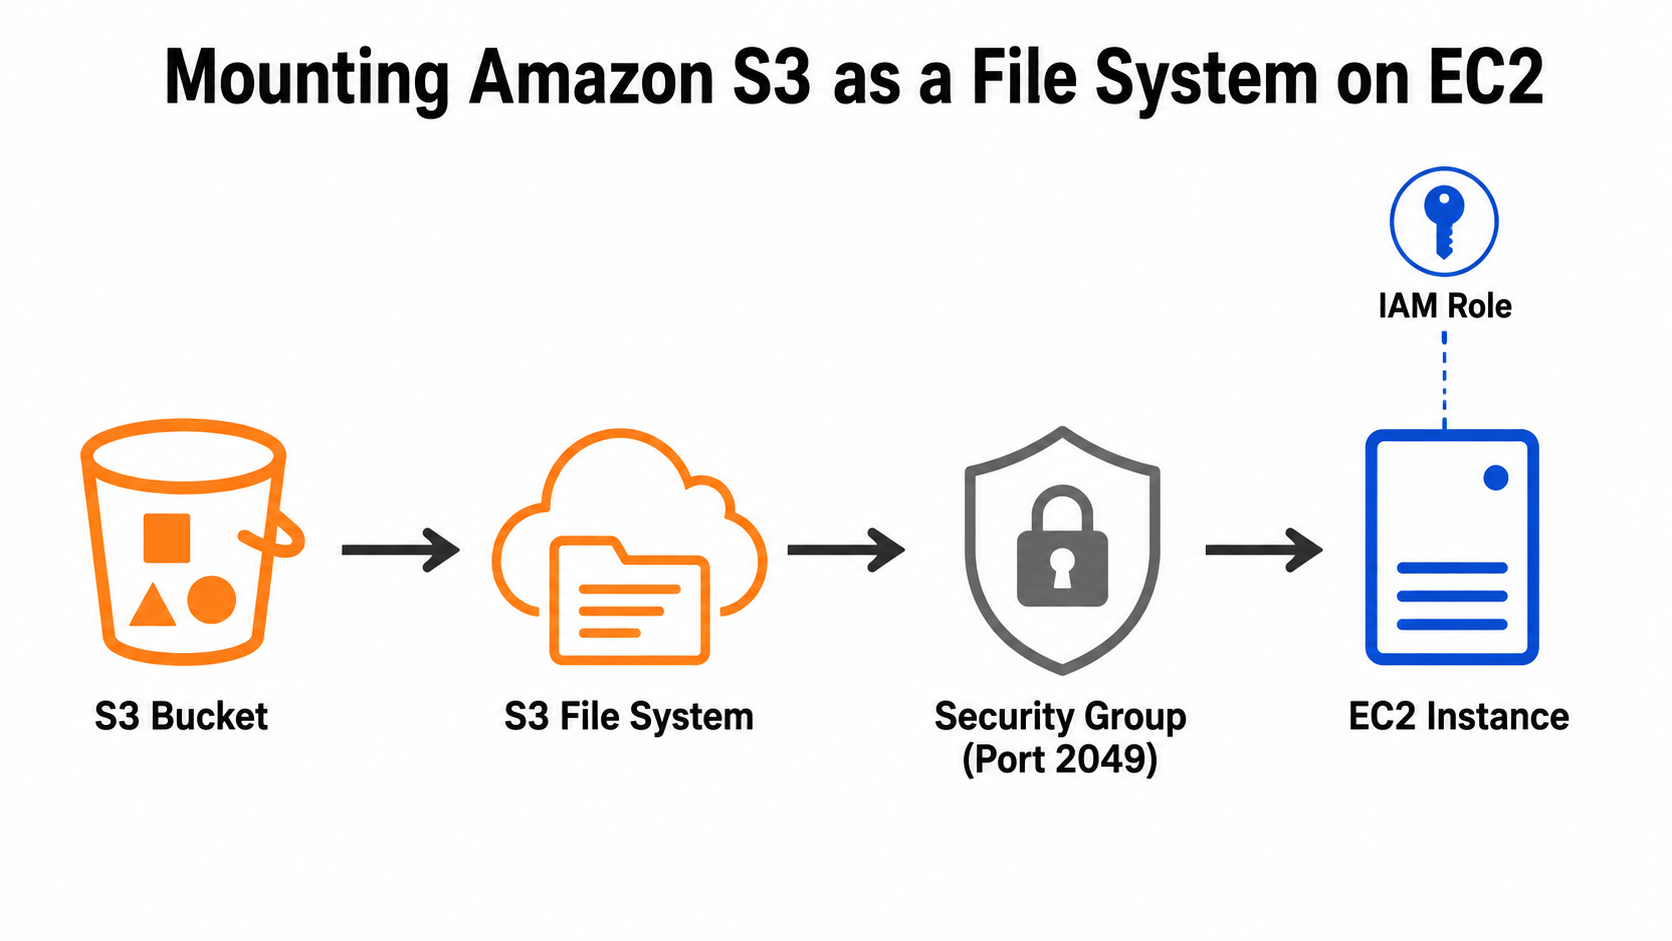
This guide documents the end-to-end process of using AWS’s S3 Files feature, which lets you mount an S3 bucket directly onto an EC2 instance as a network file system (similar to EFS). It covers bucket setup, IAM permissions, file system and mount target creation, security group configuration, EC2 launch, mounting, troubleshooting a common permissions error, and verifying that writes from EC2 land in S3.
Architecture Summary
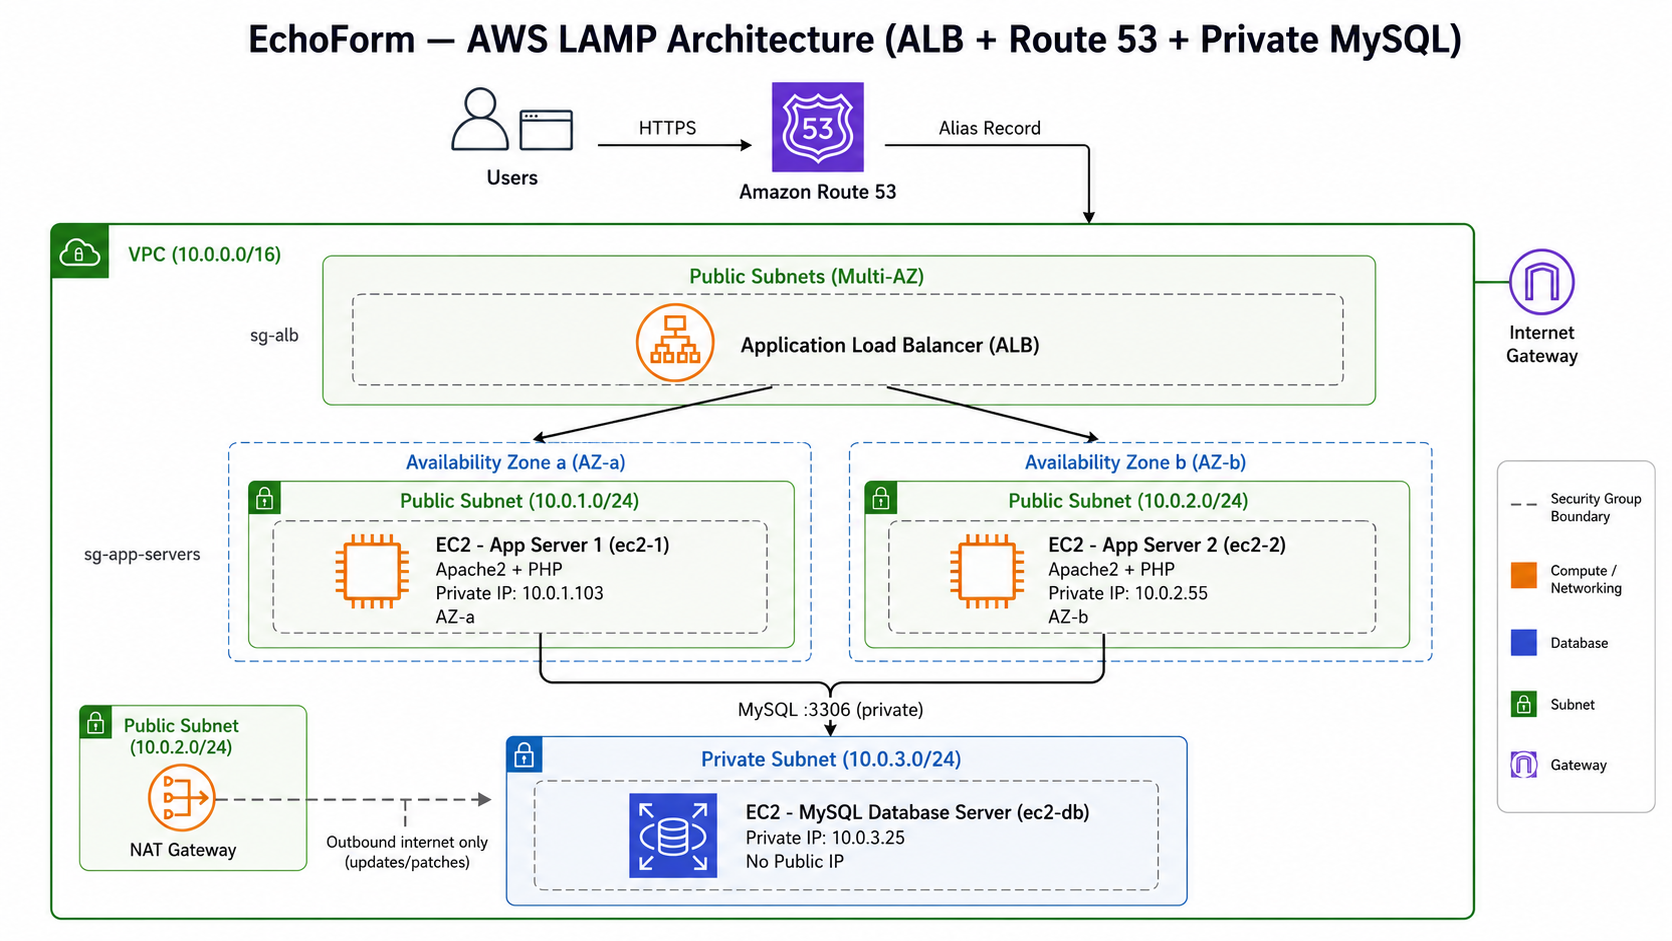
- S3 Bucket — stores the underlying objects
- S3 File System — exposes the bucket as a mountable NFS-style target, with one mount target per Availability Zone
- IAM Role — attached to the EC2 instance, grants permission to mount and access the file system
- Security Group — allows inbound traffic on port 2049 (NFS) from the mount targets, plus SSH for management
- EC2 Instance — mounts the file system locally and reads/writes files that sync to S3
Step 1: Create the S3 Bucket
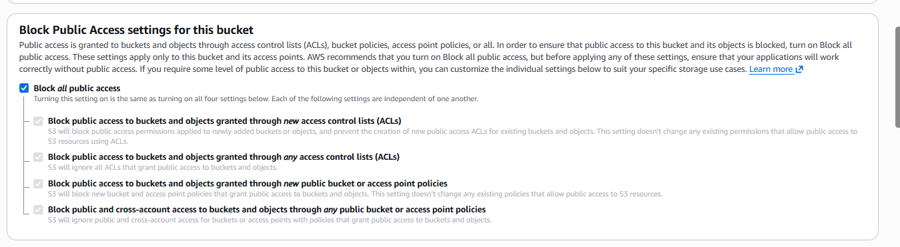
Create a new general-purpose S3 bucket (e.g. pixelr-cloud-rupam007) in your chosen AWS region. Keep “Block all public access” enabled so the bucket stays private.
Step 2: Enable Bucket Versioning
Turn on Bucket Versioning so every change to objects in the bucket is tracked and recoverable.

Step 3: Locate the New Bucket
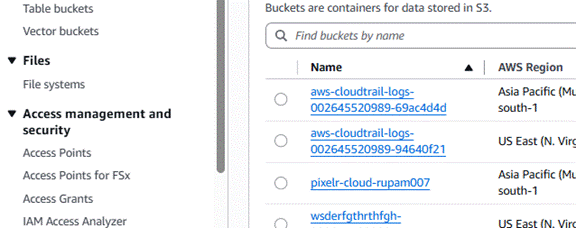
Confirm the bucket appears under Buckets in the S3 console alongside any existing buckets.
Step 4: Create an IAM Role for EC2
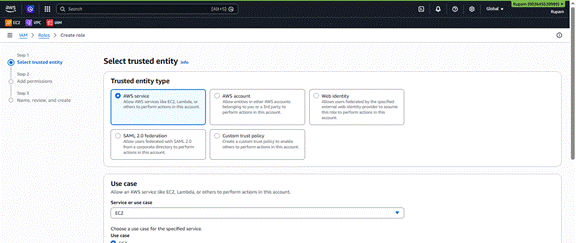
Go to IAM > Roles > Create role. Choose “AWS service” as the trusted entity type, and select EC2 as the use case. This allows an EC2 instance to assume this role and call AWS services on your behalf.
Step 5: Attach the S3 Files Permissions Policy
Attach the AWS managed policy AmazonS3FilesClientFullAccess. This grants the EC2 instance permission to mount and access the S3 file system as a client.

Step 6: Name and Create the Role
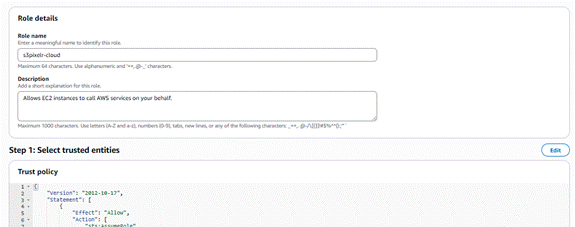
Give the role a meaningful name (e.g. s3pixelr-cloud) and a short description, such as “Allows EC2 instances to call AWS services on your behalf.” Review the trust policy and create the role.
Step 7: Create the S3 File System
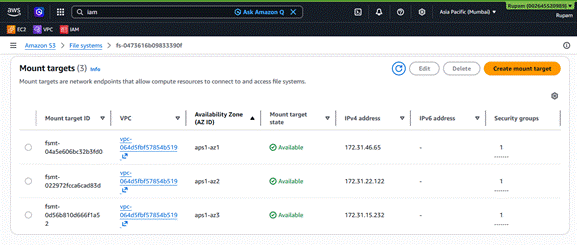
Under S3 > Files > File systems, create a new file system linked to your bucket. AWS automatically provisions mount targets — one per Availability Zone in your VPC — each with its own private IP address. These mount targets are the network endpoints EC2 instances connect to.
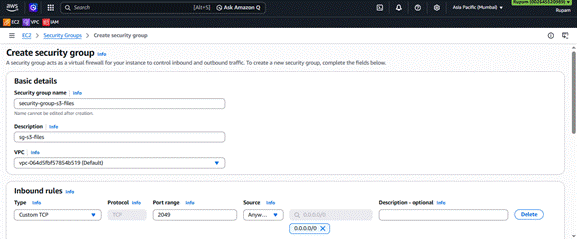
Step 8: Create a Security Group for the File System
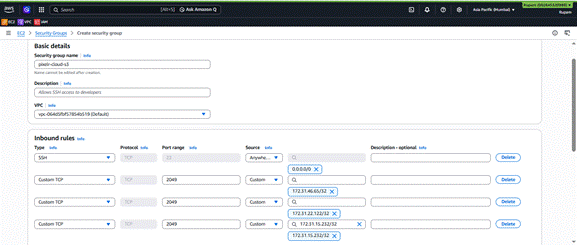
Create a security group (e.g. pixelr-cloud-s3) in the same VPC as your file system. Add an SSH (port 22) inbound rule for remote access, plus Custom TCP rules on port 2049 (the NFS port used for mounting) sourced from each mount target’s IP address.
Step 9: Iterate on the Security Group Rules
You may create a few versions of the security group while testing (e.g. sg-s3-files, security-group-s3-files) before settling on one with a TCP rule for port 2049 open to the required sources.
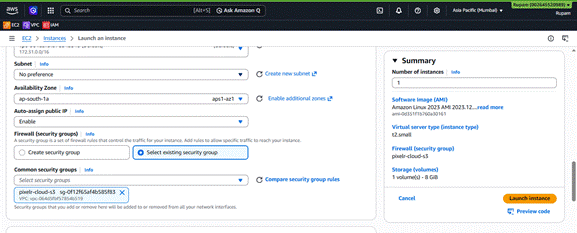
Step 10: Launch an EC2 Instance
Launch an Amazon Linux 2023 instance (e.g. t2.small) in the same Availability Zone/VPC as your file system. Enable auto-assign public IP and attach the security group created above.
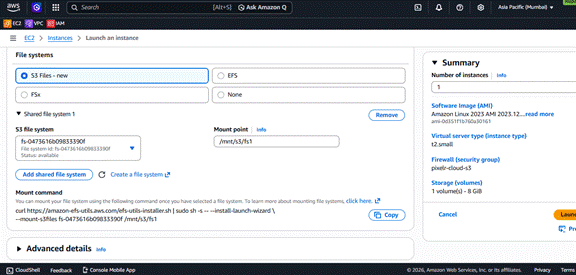
Step 11: Attach the S3 File System at Launch
In the File systems section of the Launch Instance wizard, select “S3 Files – new,” choose the file system you created, and set a mount point (e.g. /mnt/s3/fs1). AWS will display the mount command for reference.
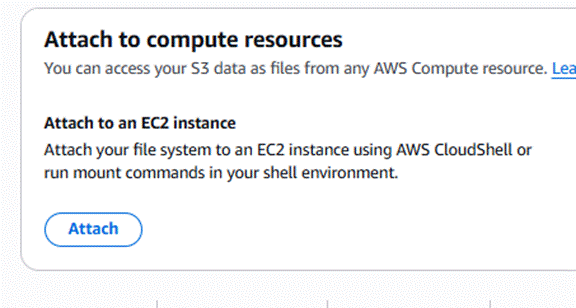
Step 12: Attach to Compute Resources (Alternate Path)
From the file system’s detail page, you can also use “Attach to compute resources” to get manual SSH and mount instructions for an existing EC2 instance.
Step 13: SSH In and Install the Client Utility
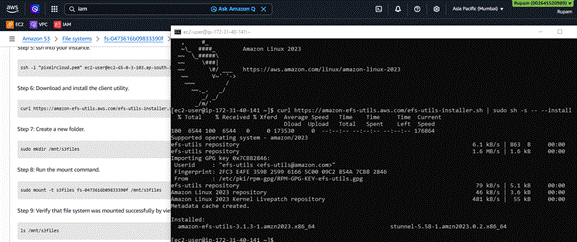
Connect to the instance via SSH, then install efs-utils, which provides the mount helper used for S3 file systems.
ssh -i “pixelrcloud.pem” ec2-user@<your-instance-public-dns> curl https://amazon-efs-utils.aws.com/efs-utils-installer.sh | sudo sh -s — –install
Step 14: Create a Mount Folder and Mount the File System
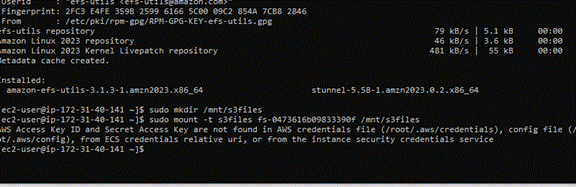
Create a local directory to act as the mount point, then mount the S3 file system to it.
sudo mkdir /mnt/s3files sudo mount -t s3files fs-0473616b09833390f /mnt/s3files
Step 15: Troubleshoot – Missing Credentials Error
The first mount attempt fails with: “AWS Access Key ID and Secret Access Key are not found in AWS credentials file…” This happens because the EC2 instance has no IAM role attached yet, so it cannot authenticate to S3.

Step 16: Fix – Attach the IAM Role to the Running Instance
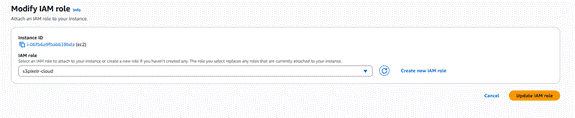
Go to the EC2 instance > Actions > Security > Modify IAM role, and attach the IAM role created in Step 6 (e.g. s3pixelr-cloud) to the instance, then click Update IAM role.
Step 17: Re-Mount and Test File Operations
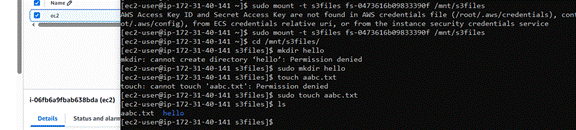
After attaching the role, run the mount command again — it should succeed. Creating files as a regular user may still fail with “Permission denied,” so use sudo for directory and file creation as a quick test.
sudo mount -t s3files fs-0473616b09833390f /mnt/s3files cd /mnt/s3files sudo mkdir hello sudo touch aabc.txt ls
Step 18: Verify Objects Appear in the S3 Bucket
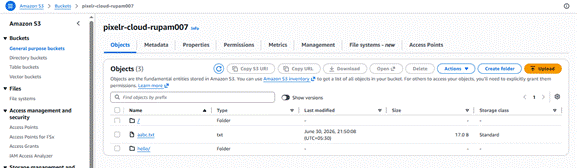
Open the bucket in the S3 console. The files and folders created on the EC2 instance (aabc.txt, hello/) now appear as real objects in the bucket — confirming the mount is correctly writing through to S3.
Final Notes & Hardening Recommendations
- Restrict SSH (port 22) to your own IP address instead of 0.0.0.0/0 for anything beyond testing.
- Limit port 2049 access to the specific mount target IPs or the VPC CIDR range, not the open internet.
- Keep “Block all public access” enabled on the bucket unless you have a specific reason to allow public access.
- Review the IAM role’s attached policy regularly to ensure it follows least-privilege principles.